Thursday, November 7, 2013

Owl Cake.

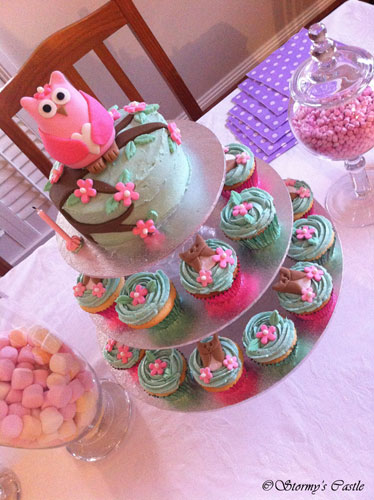
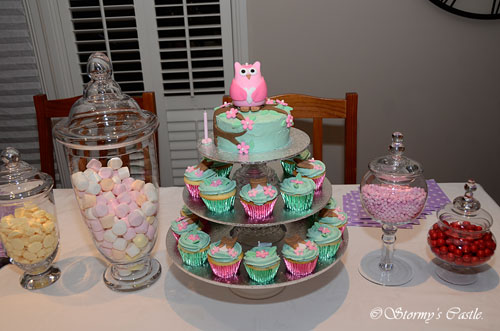
My Daughter had her 12th Birthday way back in August, and she wanted an owl inspired cake, as owls seem to all the rage with her at the moment. I set about with a few ideas inspired by Pinterest. As I had been successful in creating a small cutting cake on top of a cupcake tower before, this was the path I had envisaged with the owl cake. I decided on one large owl sitting on a branch surrounded by flowers for the cutting cake, and alternate owls and flowers for the cupcakes.

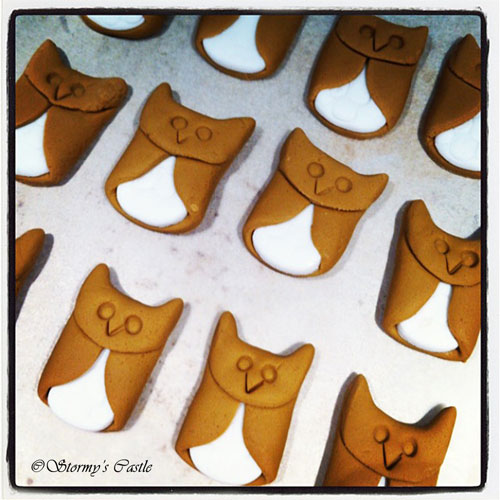
Several months ago, I had pinned a simple owl made out of a cut out round piece of clay, and decided I would try it with fondant. I mixed up some brown, and left the rest white. I cut out 2 circles. The brown a larger one, and the white quite a bit smaller. I left some small circular indents in the white and lay it on top along one edge of the brown circle. I then folded in the 2 sides of the brown to form wings, and then folded in the top and formed some small ears for the head. I used the end of a small chopstick to press in the eyes, and the bottom of a small heart cutter to press in the beak.


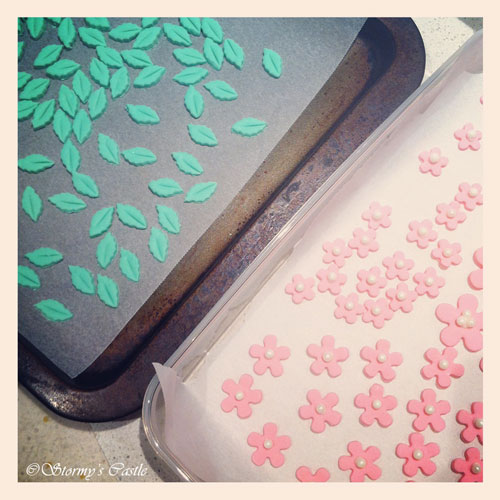
I also cut out many small and medium sized bright pink blossoms and small green leaves from fondant, and left them to dry on baking paper for several days.


Once the blossoms were dry I stuck on some pearl cachous with royal icing, and they were all ready to be used on the cakes.

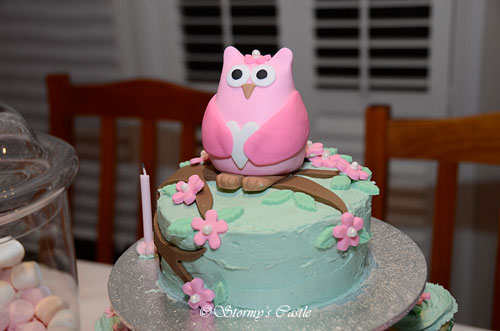
The next task was the owl! Basically, I started with a pink blob of fondant and fashioned it into an owl shape with small ears! It certainly wasn't hard at all. I then cut out a heart for it's tummy and made wings, eyes, a beak and some feet out of leftover already coloured fondant. I stuck a flower on top of it's head, and it was finished.


Before I began icing the top cake, I drew a template for the branch out of tracing paper, ready to use as a template on the rolled brown icing.The cupcakes were iced with aqua icing and the construction began!


It wasn't as neat as I would have hoped, but I literally finished with 20 minutes to spare before the hoards of pre-teenage girls arrived!


She loved it!!

Wednesday, September 18, 2013

Tiffany & Co Inspired Desk.

Since my daughter is beginning secondary school next year, it was about time I found her a desk for her room where she can quietly do her homework without the normal household distractions (ie; little brothers). Well, that was the plan, anyway!

We had hunted high and low for the perfect desk. Not too big and cumbersome, but not too small to be able to spread out books comfortably. It also couldn't be too modern and had to have storage drawers. Easy, right? Not really. Knowing I still had my childhood desk and had revamped it a few years ago, I had the thought of a fairly plain but solid pine raw students desk which I could paint any colour she wanted.

After searching many suburbs and furniture shops, where there once were an assortment of basic raw pine furniture shops, there was a distinct lack of. They just didn't exist anymore. No one, it seemed, wanted to buy raw pine furniture anymore. It was mostly hardwood, all finished and all imported.

Eventually, we found an 'old style' shop that stocked locally made pine furniture, and yes, they had a student's desk about the right size and we could have one in raw. Fabulous! So after taking the measurements and drawing up a scale map of her room and other furniture, we decided it would fit. Perfect!

That is, of course, until a few weeks later we went back to the shop to order a raw pine desk, only to be told that the local manufacturer is closing his doors in a week at the end of the financial year, and couldn't get a raw one. Great. We had to settle for floor stock that was already stained and varnished, ie; more work (and money) for me to transform. Knowing our struggle to find the desk initially, we had to settle for that. It could have taken months to find the perfect second hand one on ebay, and I really wanted to complete it during the upcoming school holidays.

Thankfully, we were given a discount for floor stock! Here she is in her 'just purchased' form, a beautifully finished plain desk with 3 drawers, although she doesn't fit in with any other pieces in my home in her current state, and would stand out like 'you know what' in my daughter's room!
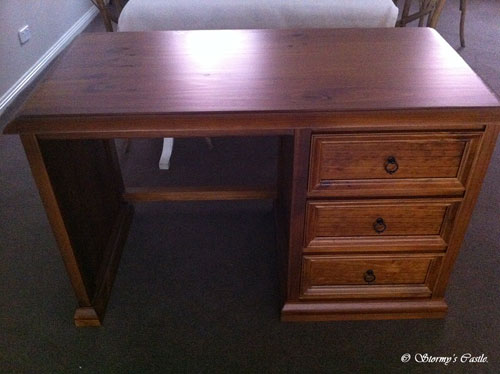


...and so the transformation begins! Albeit, a little more work than I had anticipated.

First I took out the drawers and labelled them so they went back in the same spots, then removed the handles. I didn't need to fill in the holes, as I was replacing with knobs, not pulls, so used the same holes. I then gave it a quick wash and began my least favourite task of sanding. It was not my intention to remove all the previous stain/varnish, but just to rough it up a bit so the new paint would have something to stick to.
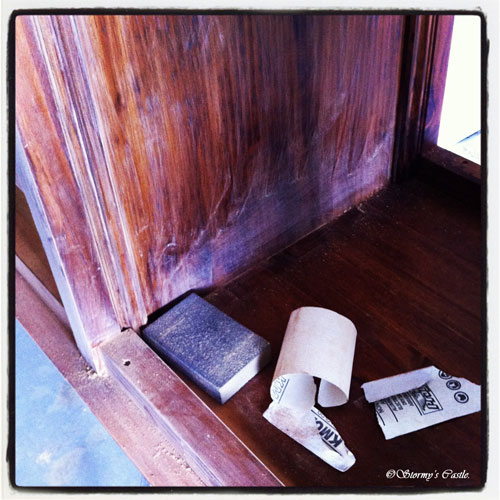


When working with a piece like this, I always start with it upside down, and do the underneath (and sides) first, then finish with the top. This way, it doesn't have to sit on it's freshly worked on top to start the next process, particularly important with painting, not so with sanding, but I always work to the same formula for each process, so nothing gets missed!.

 After sanding, vacuuming, washing and washing again, it was ready to be primed. It's paramount to use the correct primer for the job. As this desk was previously stained and varnished and most of it was still on the furniture, a stain blocking primer was essential. This prevents any of the previous colour leeching through the finished paintwork, destroying all the hard work already achieved. My primer of choice is Zinsser BIN. I've used it on all my other furniture revamps and it has always worked. It is quite expensive, but well worth it in the long run. Don't skimp on this process!!! I prefer to use it in spray cans for projects such as this. I used 3 cans for the desk and drawer fronts and 3 thin coats to gain complete coverage. Several thin coats work best than 1 thick coat, as this paint has a tendency to run if it's on too much in the one spot. The first coat always looks spotty, but don't over work it. It will all 'fill in' in the subsequent coats.
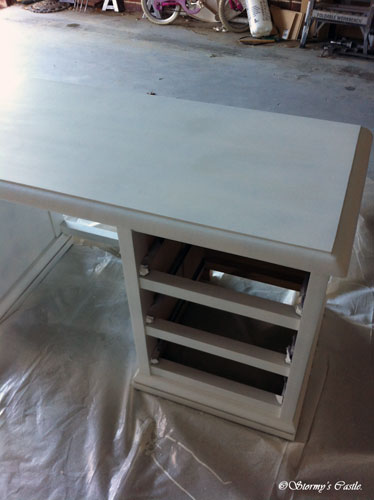


Once the primer had dried properly (overnight) it was time for the colour. I used a gloss acrylic (water based) for this. I know it's not as durable as gloss enamel (oil based), but it's friendlier to my head (lack of fumes), dries quicker and cleans up in water. The colour of choice is 'Island sea' by Dulux.
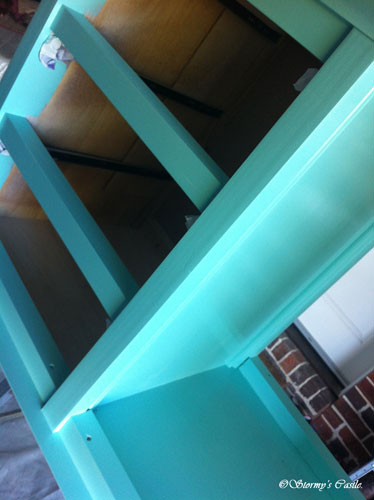


2 coats of colour and she's done!
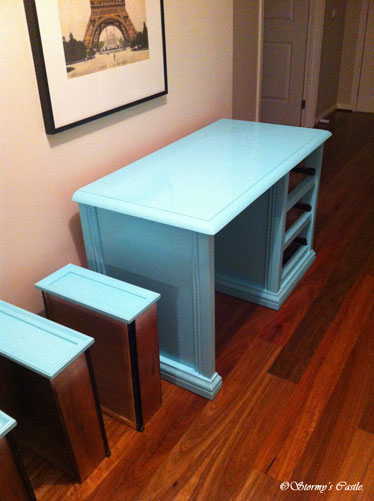


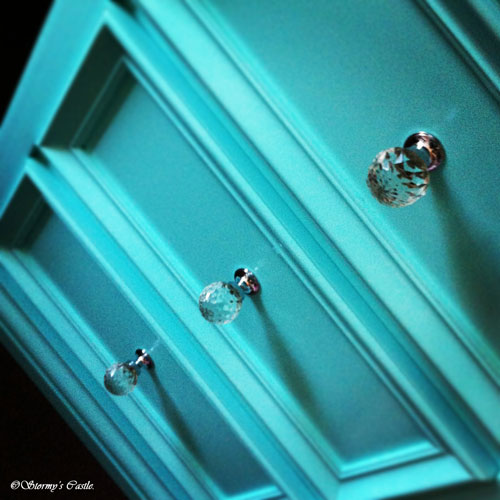
I let her finish drying inside and harden for a week before moving into my daughter's room. The crystal style knobs went on a few weeks later (once I found the ones I wanted after 1 shop ordered me 2 instead of 3 and then couldn't get another!), and the Tiffany & Co inspired desk is all complete and ready for use.


A 'completed' photo in the room will have to wait due to mess!
Tuesday, August 13, 2013

The Making of The Gallery Wall.

Is it really August? This year has flown by so quickly again, and my poor little blog has taken a back seat yet again. I am a little more active on my Facebook page if you want to keep up to date with the house and projects over there!

Stormy's Castle

So what's been happening for 9 months since my last post? I've made several butterfly frames for the shops, including some new designs, I've painted a desk and put up a gallery wall in the lounge room.

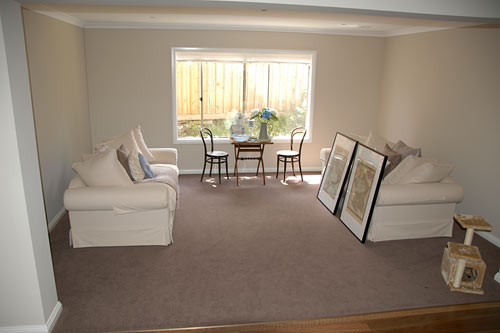
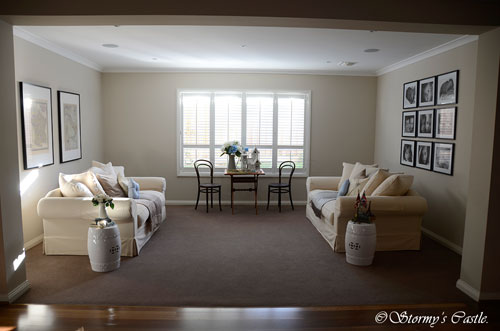
If you can remember the space prior to plantations and maps in stage one:


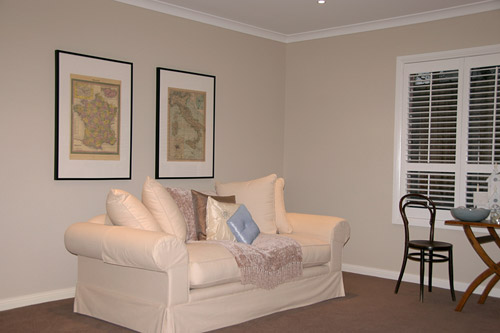
Stage two with the plantations and maps:


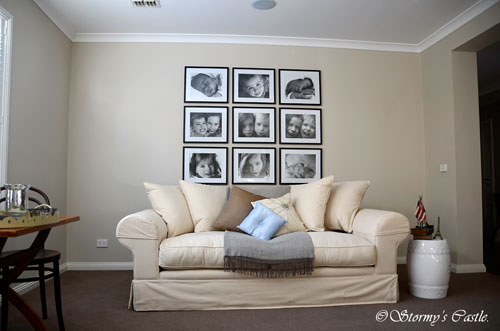
I still had a completely blank wall to fill opposite. My plan was always to have a gallery wall of black and white photos I had taken of the children. I just had to choose the right photos and find suitable frames. Easy? Not really! I had many photos to choose from, that wasn't the issue. It required careful planning, designing and searching for the right frames that were black with white matt, and in the right size for the photos....and a bit of procrastination in the 'too hard' basket. I also wanted to find a pro lab to print my photos since they were going to be enlarged on the wall. I also had to make templates the size of the frames and stick them to the wall to see if it filled the space enough.

I eventually decided on 11x14 inch enlargements. I needed 9 frames and arranged in a 3x3 format.

The frames I used I purchased from Harvey Norman, but they are readily available in other shops. They weren't the most expensive, nor the cheapest, so I hope they last a while!

I thought choosing the photos and deciding on a pro lab to process them was hard....but the most challenging part was hanging them. The back of the frames had 3 small 'D' rings which enabled the frame to be hung portrait or landscape. We initially put some frame wire between 2 of the 'D' rings, thinking we could use 1 hook on the wall, but the wire kept slipping, so the frame would hang lower (and keep getting lower...) than what we wanted.

So with all the templates made, we used them to work out where each hook would sit in the 'D' ring. Yep...2 hooks per frame. There was a lot of meticulous measuring and leveling, as I'd worked out there to be a 3.5cm gap between each of the frames. I also had to put several string lines blu-tacked to the wall to use as a straight edge...the laser level was useless...needed 6 pairs of hands for that! At least the string lines stayed in place!

3 weekends of planning, buying frames and waiting for my online processing to be delivered, and 2 days of hanging (...and a little swearing...), stage three is now complete, and I couldn't be happier!


I thoroughly recommend RGB Digital pro lab in Brisbane for excellent quality printing and service. I ordered them one night and they were shipped the next day and delivered to me the day after that. Beautiful quality, considering some of these were scanned from a 6x4 print from film!

I'm happy, but thankful I don't have to tackle that job again!!

Stage four?? I may need (note 'need' not 'like') a rug to tie the 2 couches together, and of course, there is the tufted ottoman I will be making at some stage. I also added 2 bargain white ceramic stools from The Reject Shop ($40 each!). I'm also considering changing the downlight in the middle of the room to a chandelier at a (very) later stage.

Always a work in progress.