
We had hunted high and low for the perfect desk. Not too big and cumbersome, but not too small to be able to spread out books comfortably. It also couldn't be too modern and had to have storage drawers. Easy, right? Not really. Knowing I still had my childhood desk and had revamped it a few years ago, I had the thought of a fairly plain but solid pine raw students desk which I could paint any colour she wanted.
After searching many suburbs and furniture shops, where there once were an assortment of basic raw pine furniture shops, there was a distinct lack of. They just didn't exist anymore. No one, it seemed, wanted to buy raw pine furniture anymore. It was mostly hardwood, all finished and all imported.
Eventually, we found an 'old style' shop that stocked locally made pine furniture, and yes, they had a student's desk about the right size and we could have one in raw. Fabulous! So after taking the measurements and drawing up a scale map of her room and other furniture, we decided it would fit. Perfect!
That is, of course, until a few weeks later we went back to the shop to order a raw pine desk, only to be told that the local manufacturer is closing his doors in a week at the end of the financial year, and couldn't get a raw one. Great. We had to settle for floor stock that was already stained and varnished, ie; more work (and money) for me to transform. Knowing our struggle to find the desk initially, we had to settle for that. It could have taken months to find the perfect second hand one on ebay, and I really wanted to complete it during the upcoming school holidays.
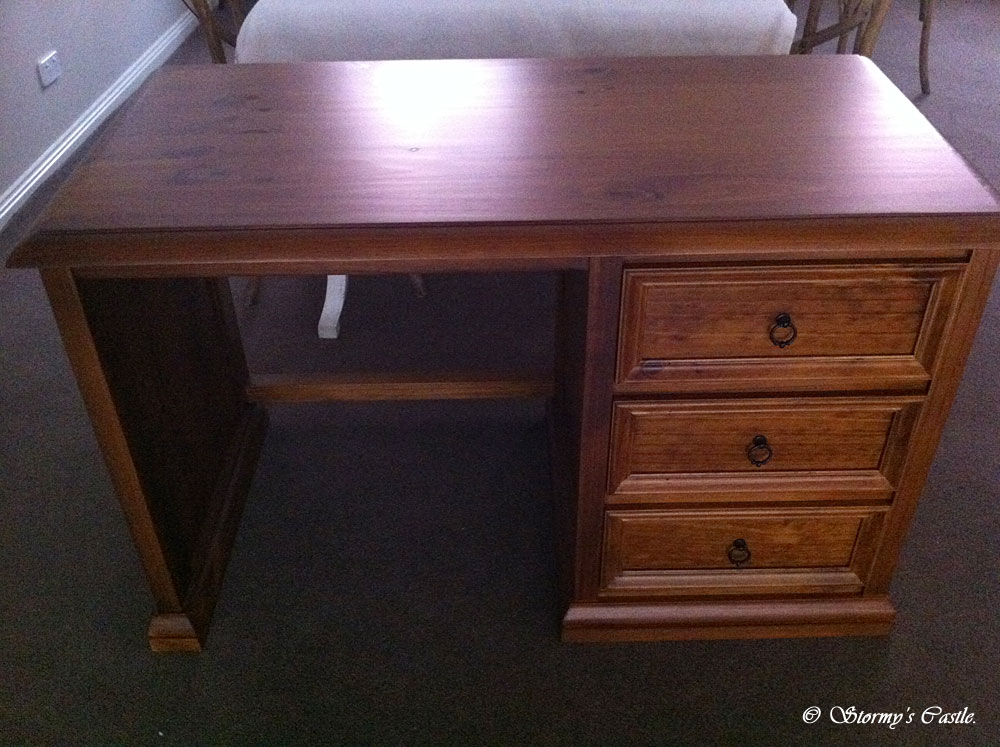
Thankfully, we were given a discount for floor stock! Here she is in her 'just purchased' form, a beautifully finished plain desk with 3 drawers, although she doesn't fit in with any other pieces in my home in her current state, and would stand out like 'you know what' in my daughter's room!
...and so the transformation begins! Albeit, a little more work than I had anticipated.
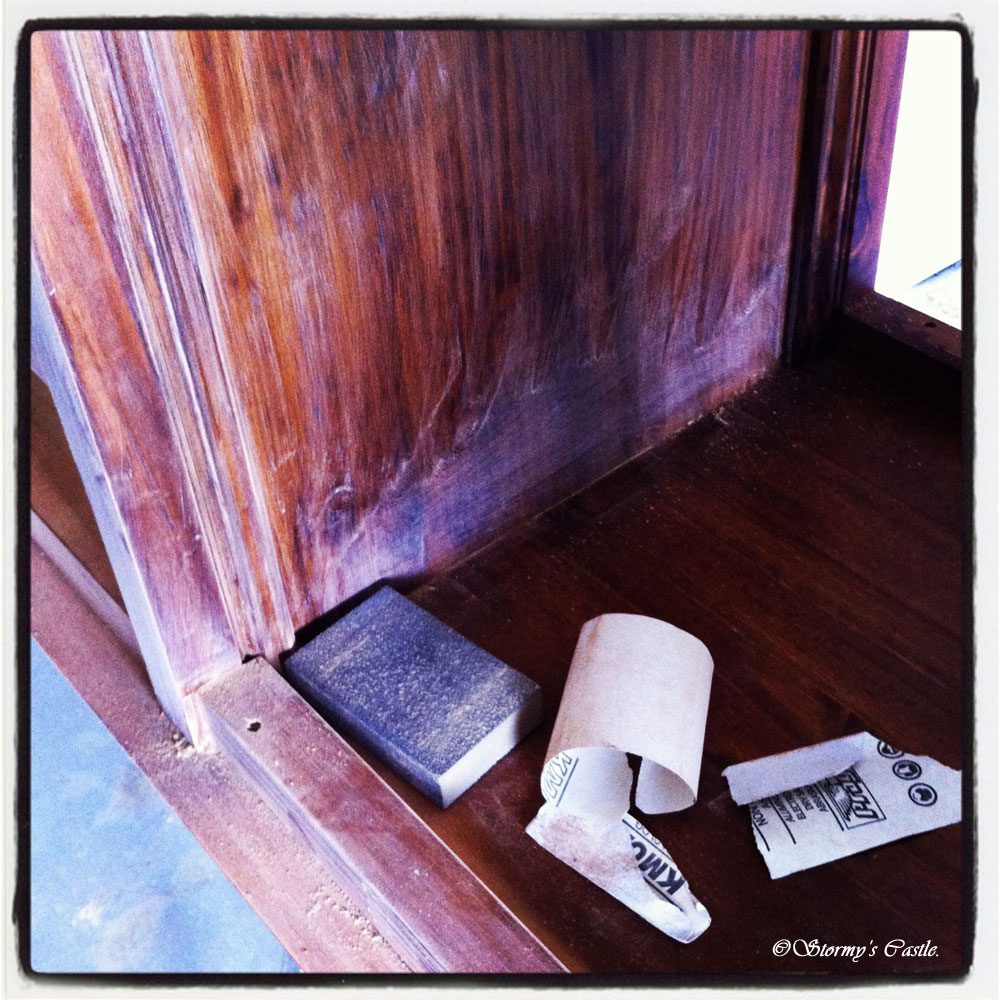
First I took out the drawers and labelled them so they went back in the same spots, then removed the handles. I didn't need to fill in the holes, as I was replacing with knobs, not pulls, so used the same holes. I then gave it a quick wash and began my least favourite task of sanding. It was not my intention to remove all the previous stain/varnish, but just to rough it up a bit so the new paint would have something to stick to.
When working with a piece like this, I always start with it upside down, and do the underneath (and sides) first, then finish with the top. This way, it doesn't have to sit on it's freshly worked on top to start the next process, particularly important with painting, not so with sanding, but I always work to the same formula for each process, so nothing gets missed!.
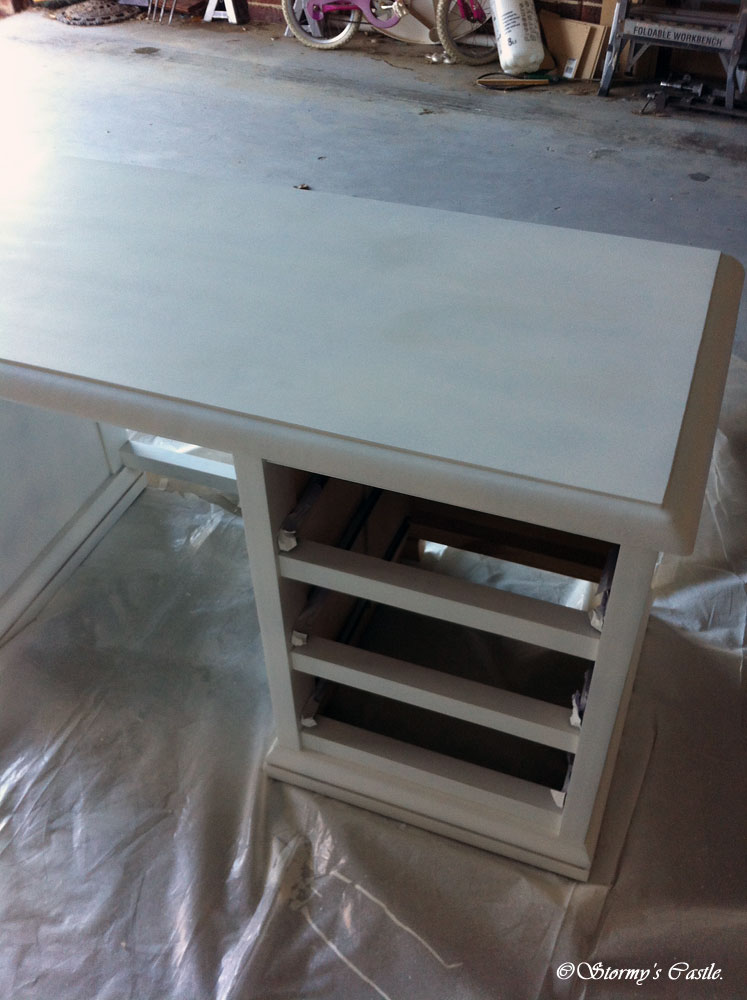
After sanding, vacuuming, washing and washing again, it was ready to be primed. It's paramount to use the correct primer for the job. As this desk was previously stained and varnished and most of it was still on the furniture, a stain blocking primer was essential. This prevents any of the previous colour leeching through the finished paintwork, destroying all the hard work already achieved. My primer of choice is Zinsser BIN. I've used it on all my other furniture revamps and it has always worked. It is quite expensive, but well worth it in the long run. Don't skimp on this process!!! I prefer to use it in spray cans for projects such as this. I used 3 cans for the desk and drawer fronts and 3 thin coats to gain complete coverage. Several thin coats work best than 1 thick coat, as this paint has a tendency to run if it's on too much in the one spot. The first coat always looks spotty, but don't over work it. It will all 'fill in' in the subsequent coats.
Once the primer had dried properly (overnight) it was time for the colour. I used a gloss acrylic (water based) for this. I know it's not as durable as gloss enamel (oil based), but it's friendlier to my head (lack of fumes), dries quicker and cleans up in water. The colour of choice is 'Island sea' by Dulux.
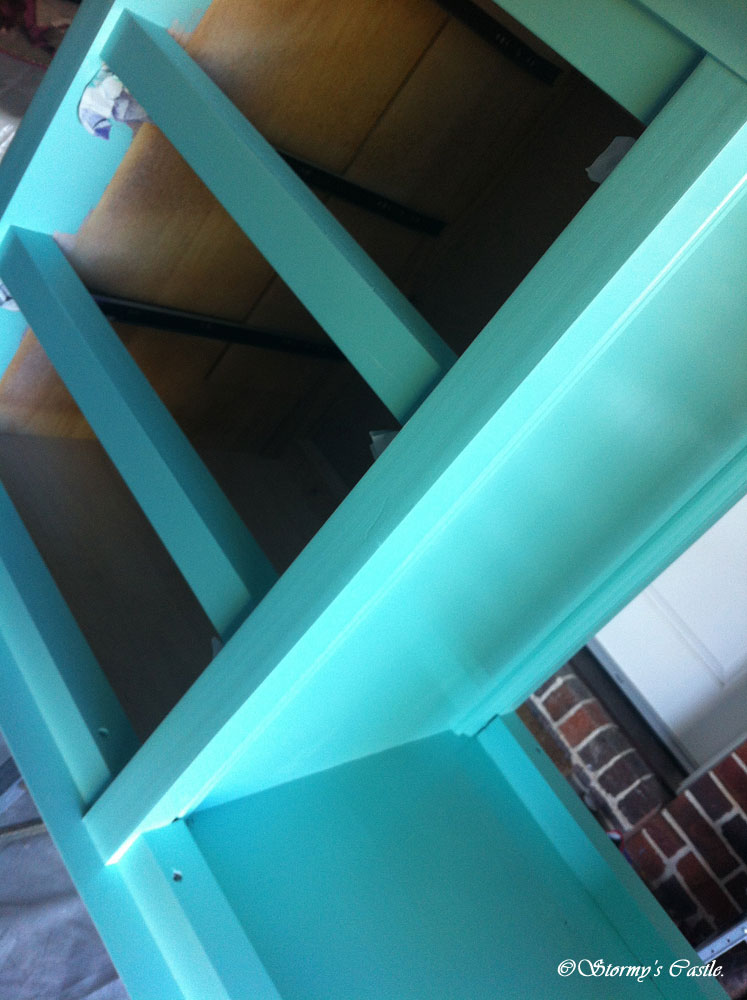
2 coats of colour and she's done!
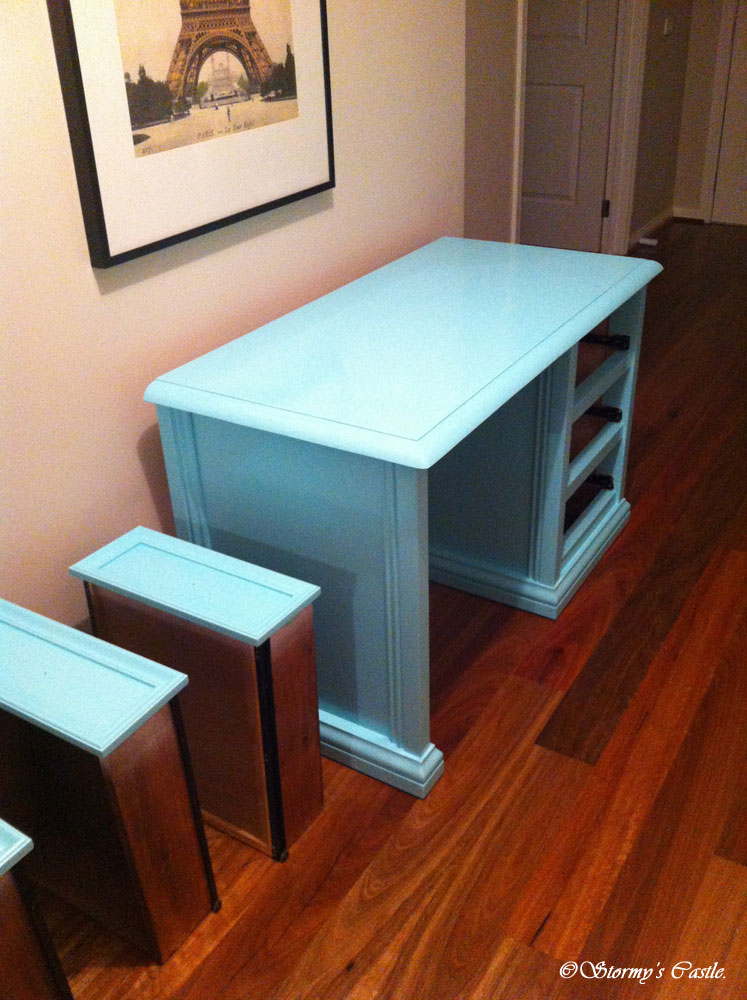
I let her finish drying inside and harden for a week before moving into my daughter's room. The crystal style knobs went on a few weeks later (once I found the ones I wanted after 1 shop ordered me 2 instead of 3 and then couldn't get another!), and the Tiffany & Co inspired desk is all complete and ready for use.

A 'completed' photo in the room will have to wait due to mess!


.jpg)


